Saturday, October 19, 2013

ATCs Created in September

I had a lot of fun making last month's Artist Trading Cards, both because I liked the themes and because I needed a break from making Christmas cards.

ATC 1:  Fairies


I was rather surprised to find that I don't have many fairy stamps, or if I do they're in hiding.  I jumped for joy when I found this stamp of a fairy riding a butterfly!  I stamped it using a multi-colored pigment ink pad and embossed with iridescent ice embossing powder, giving it a sparkly shiny and oh so pretty effect when the light hits it.  I added some colored bling to finish it off, and then gave some serious thought to keeping it for myself instead of sending it to my swap partner... and then decided to mail it off anyway.

ATC 2:  The Cat's Meow


I'm a big fan of the critters drawn by Sandra Boynton, especially the cats, and this was the perfect opportunity to blow the dust off my Boynton stamps and have a little fun with them!  I really admire the recipient, so the handwritten "You are the Cat's Meow" fit perfectly.

ATC 3:  RAK (Random Act of Kindness)


Yep, that's the same design as the ATC above it; I just used a different image and glittery designer series paper.  The recipient cracks me up whenever she sings Ta-Daaa!, so I couldn't resist making this for her!

ATC 4:  Mystery Image(s)


(Click on picture to see it larger.)

For the Mystery Image swap, we usually get four identical images stamped in waterfast black, but this month our hostess decided to switch things up and sent her images stamped in the six new Tim Holtz distress colors.  I rolled with it and decided to make a series of ATCs instead of all identical ones.  As you can see, the layout is the same, and I've just switched out backgrounds and colors.  I really like how they all turned out.

ATC 5:  Sketch #2

Here's the sketch we were supposed to use in creating this ATC:


and here's how I modified it to meet my needs:


I didn't want to break one of the basic rules of design and have the cat looking off the card, so I just switched the focal point to the other side.  The three candy dots were the perfect finishing touch.

I'm taking a bit of a break this month from ATCs since my energy is going primarily to finishing up my neighbor's order of 50 unique Christmas cards.  I'm sure I'll be back to making ATCs in November.

Time to put on the holiday music, roll up my sleeves, and see if I can make another dent in the Christmas card project!

Merry Smiles,
Joyce Spear (a.k.a. StamperJoyce)
               

Thursday, October 17, 2013

Fifty Christmas Cards - Batch Four: House Mouses

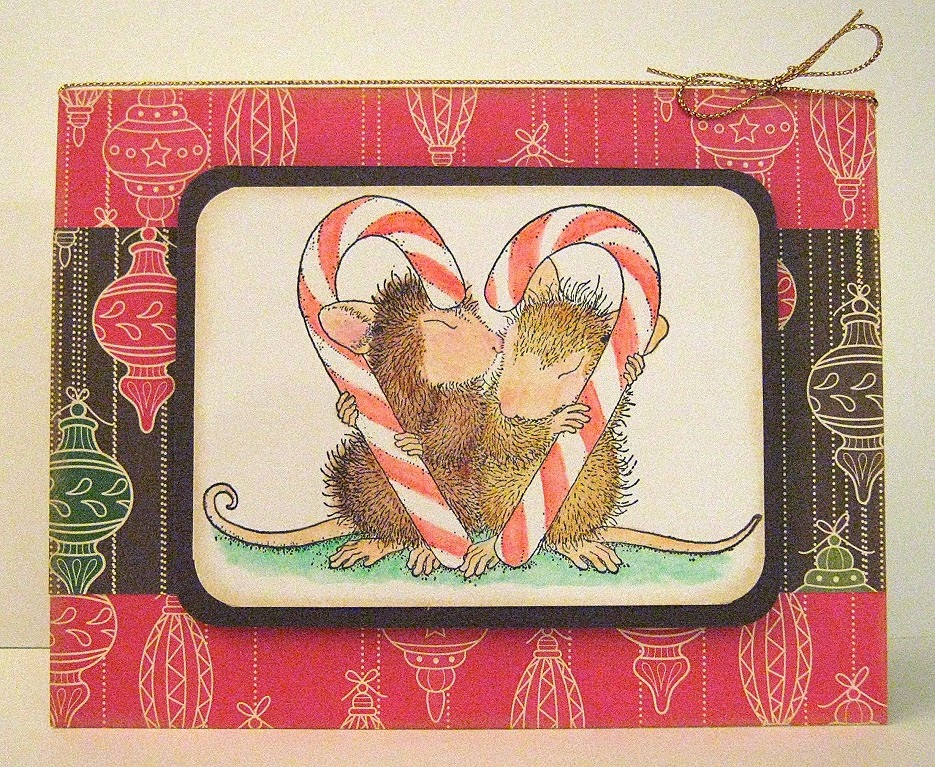
When my BFF Chris came from Wisconsin to visit me the first week of September, she brought along a bunch of stamps so that I could stamp off images from them -- and a lot of the Christmas cards I'm making for my neighbor to use include those images.  One of the stamps she brought was a House Mouse one that I fell in love with.  I generally don't do cute, but for some reason I have a soft spot in my head heart for these little mousies.  I've mostly admired them from a distance, but I think this is the first time I've actually colored a House Mouse image.  I thought it would be hard, but it was surprisingly easy -- and fun -- to do with watercolor pencils.

Card 1:


Card 2:


Card 3:


Card 4:


Card 5:


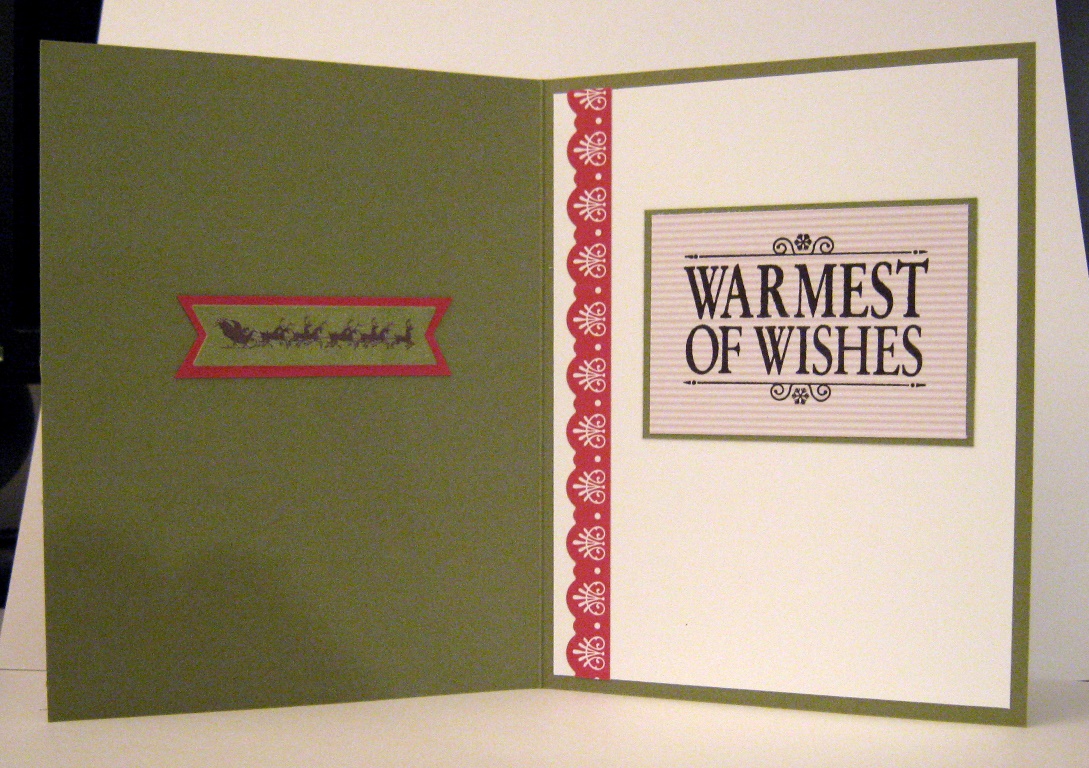
The lighting is a bit off, so I'm not sure you can tell that I used the colors Real Red and Glorious Green (retired) for Cards 1 and 5; and Riding Hood Red and Chocolate Chip for the rest.  The Stampin' Up! DSP is from many years ago.  I sponged edges with Brilliance Galaxy Gold. (I thought about using Encore Gold, but the Brilliance pad was easier to get to!)  The oval and designer label dies are from SU!, as are all the stamps except for the mice.  The ribbon and gold cord are from SU! Christmases past; while the gold nailheads are fairly new to my stash.  I had such fun making these cards... probably because there's something about these mice that makes me smile.

I've switched gears and am now working with the Wonderful Wreath stamp that's in the holiday mini catalog.  I should have the next batch of cards done by the end of the weekend if not before.  I'll post them as soon as they're done.  Meanwhile, the next two posts will feature my September ATCs and some gelli plate monoprints Chris and I made together during her visit.

I'm starting to drift off to dreamland, so I'm going to sign off and drag my bones to bed.  Yay, the weekend is just a couple of sleeps away!

Contented smiles,
Joyce Spear (a.k.a. StamperJoyce)
   

Tuesday, October 15, 2013

Fifty Christmas Cards - Batch Three: Snow Days

I especially like this next batch of cards, made with the new Snow Days stamp set from Stampin' Up!'s Holiday Mini catalog.  I also chose to work with the cool color scheme of Island Indigo, Bermuda Bay, Coastal Cabana, Pool Party, and Smoky Slate, all colors that coordinate with the Winter Frost specialty designer series paper.  As if that wasn't enough wonderfulness, I splurged and used some of the Frosted Finishes embellishments on some of the cards... wowza!

Card 1:


The Island Indigo ribbon was a freebie during this year's Sale-a-Bration event. Gotta love it!


(Click to enlarge photos.)

Card 2:


My pictures didn't turn out as well as I would have liked.  I used Whisper White, but it seems to be showing up here as beige-ish.  I'll have to work on my lighting when I take pictures.  In the meantime, indulge me and imagine these cards as bright happy sparkling white!

Card 3:


The snowflakes on this card are large metallic brads that I've had in my stash for forever.  The sentiment is embossed in silver.  The yarn was a last-minute surprise, something I noticed while staring into space in the general direction of my supply shelves and thought might coordinate nicely with the colors in these cards.  I think the yarn really adds a cozy feel to the card.


Card 4:


The 1/8" metallic silver ribbon is from the current holiday mini catalog.


Card 5:


I couldn't resist adding some delicious candy dots to this card.  The Island Indigo panel is embossed with a snowflakes embossing folder from my stash.


Card 6:


That's it for this batch of cards. If you have any comments or questions, please either leave a comment below or email me.  I LOVE feedback!

Coming up next will be posts of my ATCs for September as well as a batch of Christmas cards made with a House Mouse stamp... so stay tuned!

Crisp October Smiles,
Joyce Spear (a.k.a. StamperJoyce)
              

Monday, October 14, 2013

Retro Birthday Card

My dear friend Cathy had a birthday last week, and I decided to go retro with her birthday card.  I pulled out a Stampin' Up! set call Smile from many many years ago, and updated it with current designer series paper and ribbon...


(Click to enlarge pictures.)

This birthday card was a quick one to make, and with hindsight I see where could have used some current embellishments in addition to the ribbon.  Such is the price I pay for making the card at the last minute and rushing it to the post office in hopes it would arrive on time (which it did!)!  Cathy, if you're reading this, I hope you had a wonderful birthday!

I have a ton (well, four sets) of cards and projects ready to post, but I will do so over the next few days, as I've recently learned that if I make several posts in one day, often the extra posts get overlooked. We can't have that!  

Until tomorrow, Happy Stamping!

Smiles,
Joyce Spear (a.k.a. StamperJoyce)

Sunday, September 15, 2013

Some Birthday Cards

Oddly, August and September are birthday months, not only for me but for most of my friends as well. Maybe I'm attracted to fellow Virgos, or perhaps there's another explanation I'm not aware of.  At any rate, it makes for some frenzied card-making in these two months!  Here are some of the cards I made to celebrate birthdays this month.  (Click on a photo to enlarge it.)

Here's a flip card I made for my bestie Debbie.  I used the Circle Card Thinlit again, but left the right side uncut so it could fold into a panel where I could write a message.  Pretty slick, eh?


For Margie I made a regular card.  Of course it had to have a kitty on it, so I did something I almost never do and made a little scene of the kitty sitting in the sun with a birthday cake.  Just look at all those candles!  ;)


Why are there two cards? you ask.  Well, seems I haven't quite mastered the art of cutting a piece of DSP the right size for a card front, haha, so I had to be creative on one of the cards to make it fit properly.  As it turned out, I liked the card with the diagonal cut better than the original design, so that's the one I sent her.

So now I am officially caught up with posting what I've made to date. This means no more excuses, time for me to roll up my sleeves and get back to work!  I have ten Christmas cards to make, a set of sympathy cards for someone going through chemotherapy, some fabric butterfly cards to  make, and some projects of my own I want to work on.

Wait!  I totally forgot about a project I did with my BFF Chris who came down from central Wisconsin early this month to visit with me! We did some monoprinting with a Gelli Plate, and I have some awesome prints to show you!  I'll save those for another post...

Big Smiles,
Joyce Spear (a.k.a. StamperJoyce)
  

August Swaps

August was another productive month for me.  In addition to the Christmas cards previously posted, I also completed a bunch of swaps for the ATC group I belong to.  Without further ado, here they are.

Mystery Image, which was a moose - Yep, decades after the unique TV show concluded, I still can't see a moose without thinking of Northern Exposure!  The background I used is a printer copy of a painting I found online. 


Sketch Card #1 - We decided to try something new and work with a sketch every month.  Sketches are quite popular in the cardmaking and scrapbooking venues, but I've never seen this done for ATCs.  The top image is our starting sketch, and the four below are the cards I came up with using the idea.  I was surprised at how fast and how fun this swap was!


Quote of the Month - I used a quote from a Stampin' Up! set along with some SU! washi tape.  Easy peasy!


Artist's Choice - The photo just does not do this card justice.  I fussy cut the heat embossed flower into several layers and added some leaves that weren't in the original image.  The card base was dry embossed with a SU! embossing folder and then randomly painted with Gelatos.


Just Beachy - Of all the ATC series I've made so far, this is my favorite.  I love the collage effect and the colors I chose, and the focus is on the real sea oats I acquired a few years ago while visiting some friends in North Carolina.


Winner Take All - The winner this month chose the theme Trees, so it was a perfect excuse to pull out my Lovely as a Tree Stampin' Up! set... well, if I could have found it quickly.  Instead, I chose to use the Lovely as a Tree stamp brushes in My Digital Studio to create this card in Early Espresso and Bashful Blue.  I printed it out and used Stickles to make the trees shimmer.  This is another card that looks much better in real life than in the photo.


A2 Birthday Card - Just for fun, we decided to do a non-ATC swap, and this month it was an A2 sized birthday card.  This was my first time using the Circle Card Thinlit from Stampin' Up!, and I had fun with it. The card base is Summer Starfruit, and the other colors are Island Indigo, Tangerine Tango, and Bermuda Bay.


Celebrate You RAKs (Random Acts of Kindness) - These were both quick and fun to make, and I'm amazed at how well they turned out.  I resisted the urge to keep them for myself.  :)


I have just one more set of cards to blog, and then I can roll up my sleeves and get started on the next batch!  I do hope you're enjoying the pictures.

Smiles,
Joyce Spear (a.k.a. Stamper Joyce)
           

Saturday, September 14, 2013

Fifty Christmas Cards - Batch Two

I had two more cards to complete by September 1 in order to be on schedule with my 10 per month deadline, and I decided to use my brand new Circle Card Thinlit from Stampin' Up!  I've been fascinated with flip cards for as long as I can remember, but because I kept misplacing my template for it, I had to reinvent the wheel every time I wanted to make one -- and so didn't do it very often.  Now I have no excuse not to make them, as all it takes is a a few cranks through the Big Shot!  

These are basically the same card, with just the Designer Series Paper switched on each one.

Card 1:


Card 2: 


I enjoyed making these two cards with a combination of old and new -- retired DSP and new stamps -- and my favorite traditional Christmas color combination of Real Red and Gumball Green.  I just had to use Stickles on the red Christmas tree ornaments!

Twenty cards down, thirty to go!

Happy Smiles,
Joyce Spear, a.k.a. StamperJoyce

P.S.  Have you started on your own holiday cards yet?

Monday, August 26, 2013

Fifty Christmas Cards - Batch One

As I mentioned in a previous post, one of my neighbors has hired me to make 50 unique Christmas cards, 10 due on the first of the months of August through December.  Because I had nine cards in my "stash," I got a head start this month. I've made nine more cards, and still need to do two more to meet my September 1st deadline.  Below are the nine cards I've made so far.  If you'd like a larger view, just click on the photos.

Card 1:


Card 2:


Card 3:


Card 4:


Card 5:


Card 6:


Card 7:


Card 8:


Card 9:


I used Stampin' Up!'s retired Letters to Santa Designer Series paper as well as the coordinating self-adhesive die cuts.  I got both from the Clearance Rack in the Stampin' Up! store earlier this year, so this batch of cards was rather inexpensive to make.

I have lots of ideas for my next batches of cards, so stay tuned for the next installment.  I'll also have some ATCs to post soon, so I hope you'll enjoy all these creations!

Merry Christmas in August!
Joyce Spear (a.k.a. StamperJoyce)